Create a Project with SDK
Learn how to create a Myria project.
Projects Overview
When building on Myria, projects are the highest component in the hierarchy. Assets belong to a collection, and collections belong to a project. One project can have multiple collections
Once you've registered a developer account, creating your project is the next step. After you've created a project, you can add collections to that project, and then assets to that collection.
Creating projects
Prerequisites
- Generate a Web3 public key and Stark Key, and register your developer account entity as described in the quickstart
Project creation flow
The basic project creation flow is:
- Run a script to create a project
- Myria will attempt to create a project based on the data provided:
- Developer's API Key - It can be generated at Main Developer Portal page
- Myria User ID - The unique registered Myria User ID - once developer has onboarded and registered successfully in Myria.
Limitations
The following are known limitations for all projects:
- To create a project, you need to register a Myria developer account with your Stark Key. Otherwise, Myria won't be able to identify you in its system.
- You can add a limited number of collections to your project each month. For more details, check collection limitations.
Implementation
Prerequisites
Example
You can find the full implementation of this code sample in the myria-ts-samples repository.
You can create a new Myria project as follows:
- Create an empty directory on your local machine. Then, open it in VS Code or your favorite Web IDE:
mkdir myria-samples
- Set up
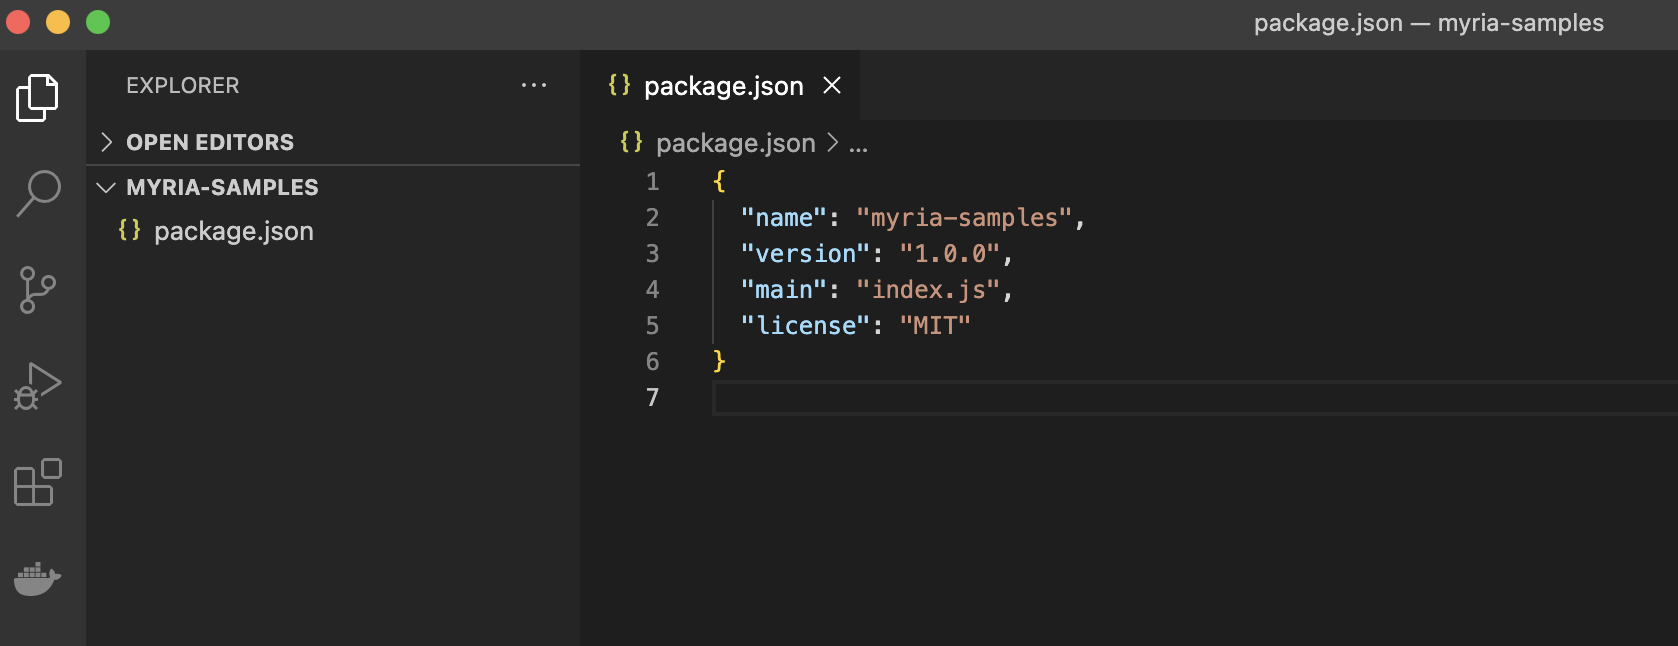
package.json:
- yarn
- npm
yarn init
npm init
- Install dependencies:
- yarn
- npm
yarn add -D typescript @types/node ts-node myria-core-sdk @starkware-industries/starkware-crypto-utils
npm i --save-dev typescript @types/node ts-node myria-core-sdk @starkware-industries/starkware-crypto-utils
- Generate
tsconfig.json:
- yarn
- npm
tsc --init
tsc --init
- Create the
create-project.tsfile in the above project and paste this code:
- Typescript
import { ProjectManager, CreateProjectParamsByAPIKey, ProjectResponse, EnvTypes } from "myria-core-sdk";

(async (): Promise<void> => {
  // define the environment: STAGING or PRODUCTION
  const env = EnvTypes.STAGING;

  // get access to the `ProjectManager`
  const projectManager: ProjectManager = new ProjectManager(env);

  const params: CreateProjectParamsByAPIKey = {
    name: "Game Project Test",
    companyName: "GamePartnerWithMyria",
    contactEmail: "world.game@myria.com",
    apiKey: 'Your api key', // could generate on the myria portal for partner
    myriaUserID: 'your unique user ID in myria system',
  };

  console.log("Created project details information...");
  const data: ProjectResponse = await projectManager.createProjectByApiKey(params);

  console.log("New project details response:");
  console.log(JSON.stringify(data, null, 2));

})();
Replace the createProject arguments as follows:
PROJECT_NAME- the project nameCOMPANY_NAME- the company name of the projectCONTACT_EMAIL- the contact email of the projectAPI_KEY- Api Key, retrieve the developer API Key in the [Developer Portal Setting Page].MYRIA_USER_ID- Myria User ID, retrieve the myria user ID in the [Developer Portal Setting Page]
- Add a script to load the
create-project.tsfile inpackage.json:
{
  "scripts": {
    "create-project": "ts-node create-project.ts"
  },
}
- Run the
create-projectscript:
npm run create-project
If you create a project successfully, you will see the response that looks as follows:
{
  "id": 10,
  "createdAt": "2022-07-06T06:05:09.697Z",
  "updatedAt": "2022-07-06T06:05:09.697Z",
  "name": "Test Game",
  "companyName": "Gaming Studio X",
  "contactEmail": "test@gamestudiox.com",
  "collectionLimitExpiresAt": null,
  "collectionMonthlyLimit": 5,
  "collectionRemaining": 5,
  "mintLimitExpiresAt": null,
  "mintMonthlyLimit": 50000,
  "mintRemaining": 50000,
  "publicId": "29aefbd7-44fa-4e40-a4e0-8253ee21bfba",
  "__entity": "ProjectEntity"
}
Make sure to write down your project id and publicId. You will need those values later.
Next steps
Now that you have a Myria project, you can create your first collection.
Please note, in the Staging environment you can create five collections and 50,000 mint transactions per collection per month.
If you want to create collections for your project on the Production environment, or you need to increase those limits, please contact our team.
Be sure to include your project id in the request message.